REVIEW · ADELAIDE
Adelaide: Epic Barossa Wine, Brewery, Chocolate, Lunch & Wildlife
Book on Viator →Operated by See Adelaide · Bookable on Viator
Barossa from Adelaide, without the driving stress. This is a full-day loop built around three wine tastings and classic Barossa stops, with plenty of commentary along the way. You’re also going to get a gourmet pizza lunch in the valley, plus photo breaks at the Whispering Wall and Mengler Hill.
My favorite part is how the day mixes tasting time with short, memorable detours. The main consideration: the wine plan leans heavily to reds, and between tastings you’re not really getting big food pairings—so I’d plan on eating a solid breakfast before you go.
In This Review
- Key Highlights You’ll Actually Use
- Barossa Day Trip Logistics: Pickup, Timing, and the 20-Person Comfort Zone
- Adelaide Hills to Whispering Wall: The Morning That Sets the Stage
- Giant Rocking Horse and Wildlife Park: Photos, Kangaroos, and Optional Fees
- Rolling Into the Barossa Valley: Wildlife Spotting and Real-Time Advice
- Kies Family Wines: Your First Tasting in the Barossa Loop
- Lambert Estate Wines and Gourmet Pizza Lunch: When the Day Gets Its Heart
- Mengler Hill Lookout: The Fast Photo Stop That Actually Matters
- Tanunda Free Time: Living Like a Local at Your Own Pace
- Optional Beer Moment at Rehn Bier: If You Want Something Other Than Wine
- Final Pour at Z Wines: Sisters, Five Generations, and a Short Finish
- Price and Value: What $106.87 Really Covers (and What to Budget Extra)
- Who Should Book This Adelaide to Barossa Tour (and Who Might Not Love It)
- Should You Book This Tour?
- FAQ
- What’s included in the tour price?
- Does the tour offer pickup and a mobile ticket?
- How long is the tour, and what time does it start?
- How many wine tastings are included, and which wineries are visited?
- What sights and wildlife stops are part of the day?
- Are there any extra fees during the day?
- Is there time to explore Tanunda on your own?
- What’s the cancellation policy?
Key Highlights You’ll Actually Use
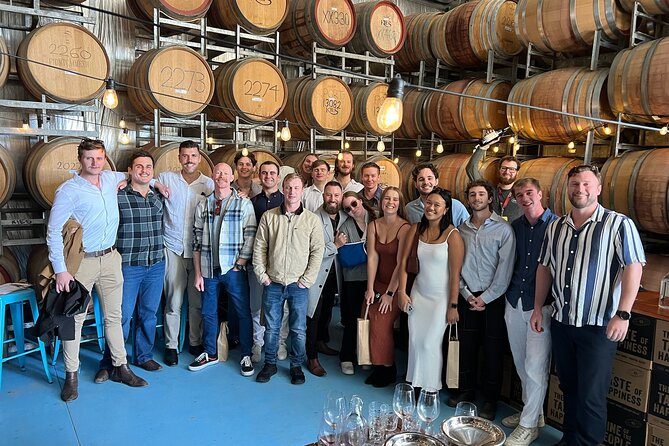
- Three tastings across Barossa, including Kies Family Wines, Lambert Estate Wines, and Z Wines
- Whispering Wall acoustic stop, one of the world’s well-known odd-sound phenomena
- Giant Rocking Horse wildlife park time, with optional $5 extras for feeding kangaroos and climbing
- Mengler Hill lookout for quick, classic valley photos
- Small group size (max 20) plus pickup from Adelaide CBD and guided commentary all day
Barossa Day Trip Logistics: Pickup, Timing, and the 20-Person Comfort Zone
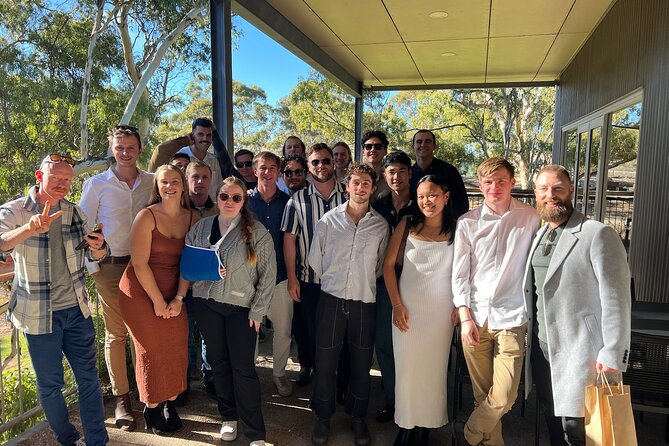
This tour works because it solves the two biggest Barossa problems: driving and planning. Adelaide is about 80 km from the Barossa Valley, and once you’re in wine territory, getting from stop to stop gets complicated fast. Here, you skip that hassle with round-trip transport and a guide handling the route.
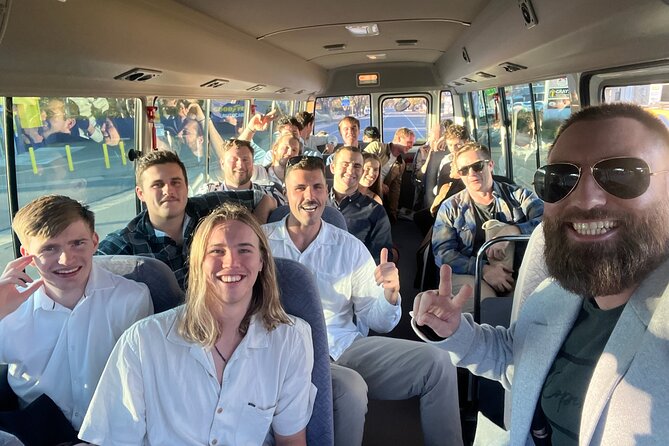
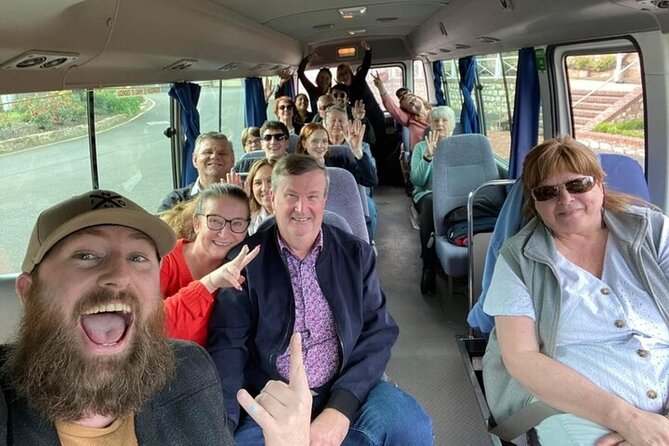
You start at 8:30 am from the Adelaide CBD, and the full day runs about 8 hours. The bus is described as a 20-seat coaster, and you’ll find the rides feel designed for comfort and sightseeing rather than long boring commutes. You also get a mobile ticket, so you’re not hunting for paper.
That small group cap (up to 20 people) matters more than it sounds. You’ll feel like the day is paced for conversation and guidance, not just herding. If you like asking quick questions—Where should I stop next time? What should I try at the next cellar?—you’ll get more from the guide.
You can also read our reviews of more tours and experiences in Adelaide.
Adelaide Hills to Whispering Wall: The Morning That Sets the Stage
Stop 1 is in the Adelaide Hills area, and it’s more than just sitting on a bus. This part is about orientation. You’ll get about 1 hour 10 minutes with the guide sharing background on Adelaide, plus ideas for what to do and where to go—useful if you’re spending extra days in the city after the tour.
Next comes Stop 2: Whispering Wall. This is a short stop (around 20 minutes) built around an acoustic phenomenon. Sound in this kind of spot can travel in unexpected ways because of the structure and the way reflections hit. Even if you don’t obsess over acoustics, it’s one of those quick “okay, that’s cool” moments that breaks up the wine-only rhythm before you hit the valley.
A practical tip: keep your energy for the day. The morning is structured but not rushed, so it’s a good time to mentally switch from Adelaide mode to Barossa mode.
Giant Rocking Horse and Wildlife Park: Photos, Kangaroos, and Optional Fees
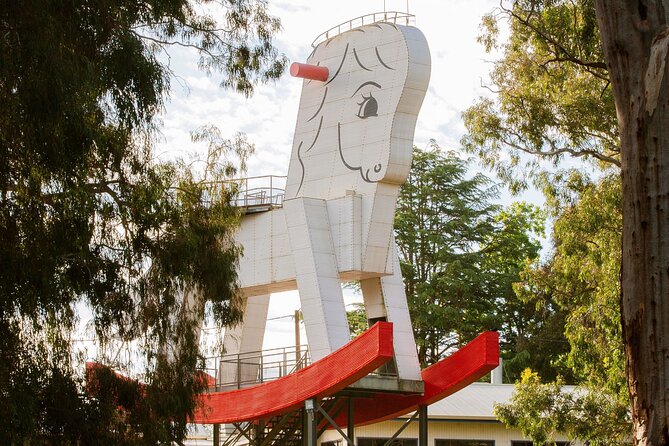
Stop 3 is the one people bring their cameras for. You’ll spend about 30 minutes at the World’s largest rocking horse in a wildlife park setting. You can view it from the ground, and there’s also an option to climb to the top for better views.
The wildlife part is the big reason this stop feels more than a photo op. There’s time to interact with friendly kangaroos and wallabies. Here’s where you need to plan for add-on costs:
- There’s a $5 entry fee if you want to feed the kangaroos and climb the rocking horse
- Viewing is no fee, so you can still get the iconic photos without paying the extras
If wildlife is a priority for you, budget the $5 and don’t treat this as optional. If you’re mostly after the sights and the scenery, you can skip the extra experiences and still get a satisfying stop.
Rolling Into the Barossa Valley: Wildlife Spotting and Real-Time Advice
Stop 4 is a travel-and-orientation stretch as you move from the Gumeracha area into the Barossa Valley. It’s about 30 minutes, and the tone shifts toward what matters once you’re in the wine region: spotting native wildlife and listening to the guide as you travel.
This part might sound like filler, but it’s actually smart. You’re getting context for the region while you’re on the move, and the guide is also shaping what you’ll notice later—where to look, what kind of vibe to expect, and what to do with your free time.
If you’re the type who likes to know what you’re seeing before you see it, this segment helps.
Kies Family Wines: Your First Tasting in the Barossa Loop
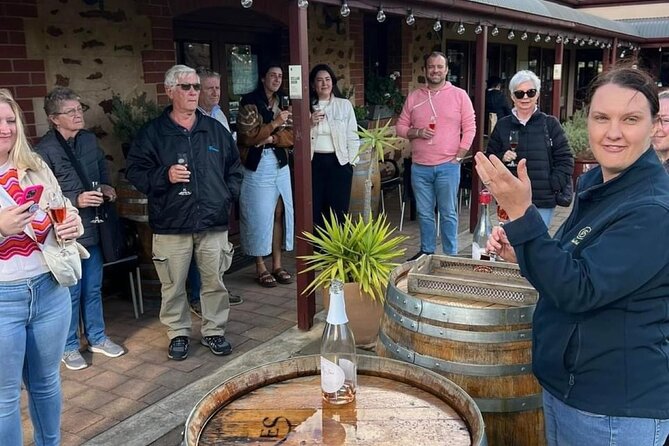
Stop 5 is your first official cellar tasting: Kies Family Wines, with a full 1 hour 10 minutes on the schedule. The winery is positioned as family-focused, and the tasting experience includes their “A Taste of Happiness” theme.
This is where the day starts to feel like Barossa in real life. You arrive, you taste, and you get your first real sense of the region’s style. Even if you’re not a wine expert, this is the moment where a guide can make a difference—because tastings go faster (and make more sense) when someone explains what to look for.
One key point to keep in mind: the day is built around wine tastings as the main event, not food throughout. So if you’re prone to getting hungry, don’t wait. Eat breakfast before you start, and sip water during the tastings.
Lambert Estate Wines and Gourmet Pizza Lunch: When the Day Gets Its Heart
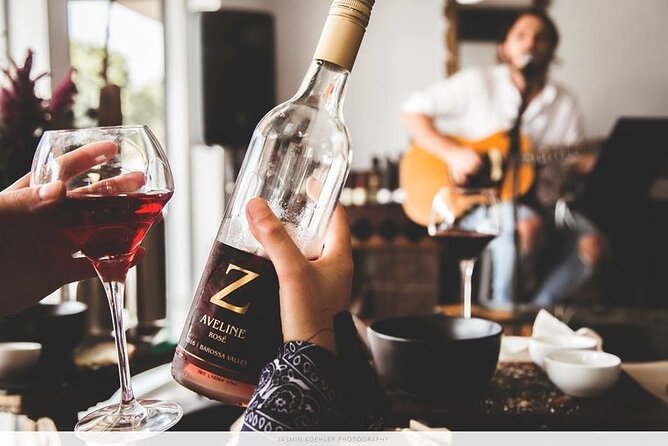
Stop 6 is both a winery and a lunch stop: Lambert Estate Wines, followed by a gourmet pizza lunch. You’ll have about 1 hour 30 minutes total here, with the tasting included and then time to eat.
This is a good design choice for a couple reasons:
- You get real calories before your next photo and free-time blocks.
- The pizza lunch gives you a steady break from wine without dragging the day into a long sit-down meal.
A balanced expectation: you’re not pairing every tasting with a full meal. The meal you’re promised is the pizza lunch here, so think of this as your anchor meal for the day.
If you want to keep the pace comfortable, it’s also a moment to slow down. Take your time with lunch, and don’t treat it as something to rush through between sips.
Mengler Hill Lookout: The Fast Photo Stop That Actually Matters
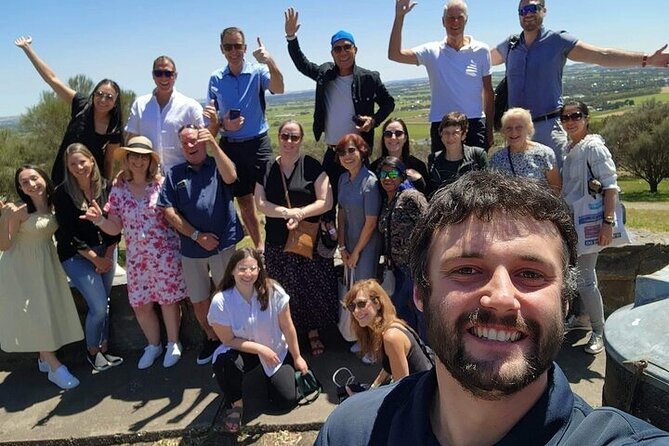
Stop 7 is Mengler Hill Lookout, with about 15 minutes. It’s short, but the goal is clear: see the region from above and get photos that show you where you’ve been and where you’re heading.
This is the stop where you’ll feel like your earlier wine and wildlife breaks were leading somewhere. If you’re into photography, arrive ready—no long snack stops before this one. If you’re not, it’s still worth stepping out and getting a quick sense of scale.
Tanunda Free Time: Living Like a Local at Your Own Pace
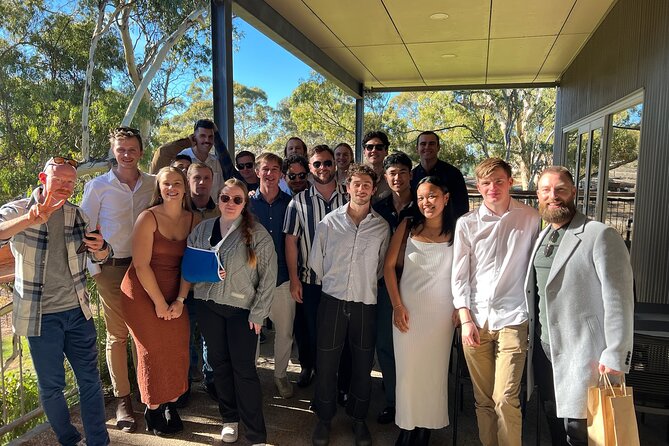
Stop 8 is Tanunda, with about 1 hour listed for the visit (the description also calls out around 45 minutes to enjoy the town). This is your flexible window: what you do here is up to you.
This kind of free time is valuable because it lets you switch from guided pacing to personal choices. You can take a breather after the lunch, grab a coffee or snack if you want, wander through the town, and reset before the final tasting portion of the day.
It’s also a chance to buy something small if you spot a wine-related item you like. Just keep an eye on timing—Tanunda time is part of the rhythm of the rest of the itinerary.
Optional Beer Moment at Rehn Bier: If You Want Something Other Than Wine
Stop 9 is Rehn Bier, a brewhouse and about 30 minutes in the schedule. If you’re feeling wine’d out—or you just want to try something different—you can choose a beer tasting. The beer part isn’t included, and any tasting fee is at your own cost.
This works well because it creates contrast: you don’t just keep stacking alcohol tastings. If your group has mixed wine preferences, this stop can help everyone find something enjoyable.
If you’re committed to wine all day, you can also treat this as a quick break and skip the paid tasting.
Final Pour at Z Wines: Sisters, Five Generations, and a Short Finish
Stop 10 is Z Wines, a tasting stop built around the sisters Janelle and Kristen Zerk and a winemaking story spanning five generations. You’ll have about 30 minutes here, and the tasting is included.
This is a good final tasting for two reasons:
- You’re already warmed up on the region’s style by this point.
- You’ve also had enough food and breaks that you’ll still enjoy the last pour rather than just “surviving” the day.
Since it’s close to the end, think of it as your chance to compare what you liked earlier and decide what you’d buy if you were coming back. You’ll probably remember the feeling of the tasting more clearly than you expect, especially if you jot down quick notes during the earlier wineries.
Price and Value: What $106.87 Really Covers (and What to Budget Extra)
At $106.87 per person, this tour looks expensive at first glance—until you count what’s included. You’re getting:
- Round-trip transportation from Adelaide CBD
- An expert guide
- All wine tastings across the three wineries
- Gourmet pizza lunch at Lambert Estate Wines
- A planned day with multiple stops and photo moments
- A bus setup for comfort, designed as a coaster experience
That’s a lot bundled into one price, and it’s why this works for people who don’t want to self-drive or book separate things. Barossa wine tours add up quickly when you try to do them piecemeal.
Now the add-ons you should plan for:
- $5 if you want to feed kangaroos and climb the giant rocking horse
- Rehn Bier beer tasting if you choose to do it (small fee at your own cost)
Also keep in mind the day focuses on wine tastings rather than continuous food. One review note pointed out that it’s mostly reds and that you may not get food with every tasting. The fix is easy: eat a good breakfast before you leave, sip water, and enjoy the lunch as the meal anchor.
Who Should Book This Adelaide to Barossa Tour (and Who Might Not Love It)
This tour fits best if you want a classic Barossa highlights day without the stress of driving, booking, or route planning.
Book it if:
- You want three wineries in one day with included tastings
- You like getting guided tips about what to do next in Adelaide and around Barossa
- You’re excited by wildlife and quirky sights like Whispering Wall and the giant rocking horse
- You prefer a structured day with stops that feel purposeful
Consider skipping or adjusting expectations if:
- You prefer white wines or rosé more than reds. This region is known for reds, and the tasting plan leans that way
- You need lots of food paired throughout the day. There’s pizza lunch, but between tastings you won’t be eating a full course style meal every stop
Should You Book This Tour?
If your goal is a smooth, one-day Barossa experience with transport, tastings, and lunch handled, I think this is a strong pick. The combination of wineries plus standout detours (Whispering Wall, giant rocking horse, kangaroos and wallabies, and a lookout) keeps the day from feeling repetitive.
Just go in with two smart expectations: mostly red wine focus and main meal is the pizza lunch. Do breakfast, drink water, and use Tanunda time to reset. If you do that, you’ll come away with the Barossa essentials and a day that feels fun, not frantic.
FAQ
What’s included in the tour price?
The tour includes all wine tastings, a gourmet pizza lunch at Lambert Estate Wines, round-trip transportation from Adelaide CBD, and an expert guide.
Does the tour offer pickup and a mobile ticket?
Yes. Pickup is offered and you’ll receive a mobile ticket.
How long is the tour, and what time does it start?
The tour runs about 8 hours and starts at 8:30 am from Adelaide CBD.
How many wine tastings are included, and which wineries are visited?
You’ll have wine tastings at three wineries: Kies Family Wines, Lambert Estate Wines, and Z Wines.
What sights and wildlife stops are part of the day?
You visit Whispering Wall, the Giant Rocking Horse area (in a wildlife park with time to interact with kangaroos and wallabies), and Mengler Hill lookout for photos.
Are there any extra fees during the day?
There’s a $5 fee if you want to feed the kangaroos and climb the giant rocking horse. Beer tasting at Rehn Bier is also an extra cost if you choose it.
Is there time to explore Tanunda on your own?
Yes. You’ll have about an hour in Tanunda, and what you do during that time is up to you.
What’s the cancellation policy?
You can cancel for free up to 24 hours in advance for a full refund. If you cancel less than 24 hours before the start time, the amount paid isn’t refunded.